Unreal – Custom C++ Plugin
(Vertex-Based Dirt Mask Painting)
I implemented a custom C++ plugin that exposes modular nodes for runtime vertex color painting based on contact with Dirt Volume Blueprints. When a character intersects a dirt surface, vertex colors are painted on the mesh and used as masks inside the dirt shader to reveal dirt accumulation in contact areas. This provides persistent, localized dirt buildup that responds directly to gameplay interaction.

Substance Painter –
Dirt Surface Texture Authoring
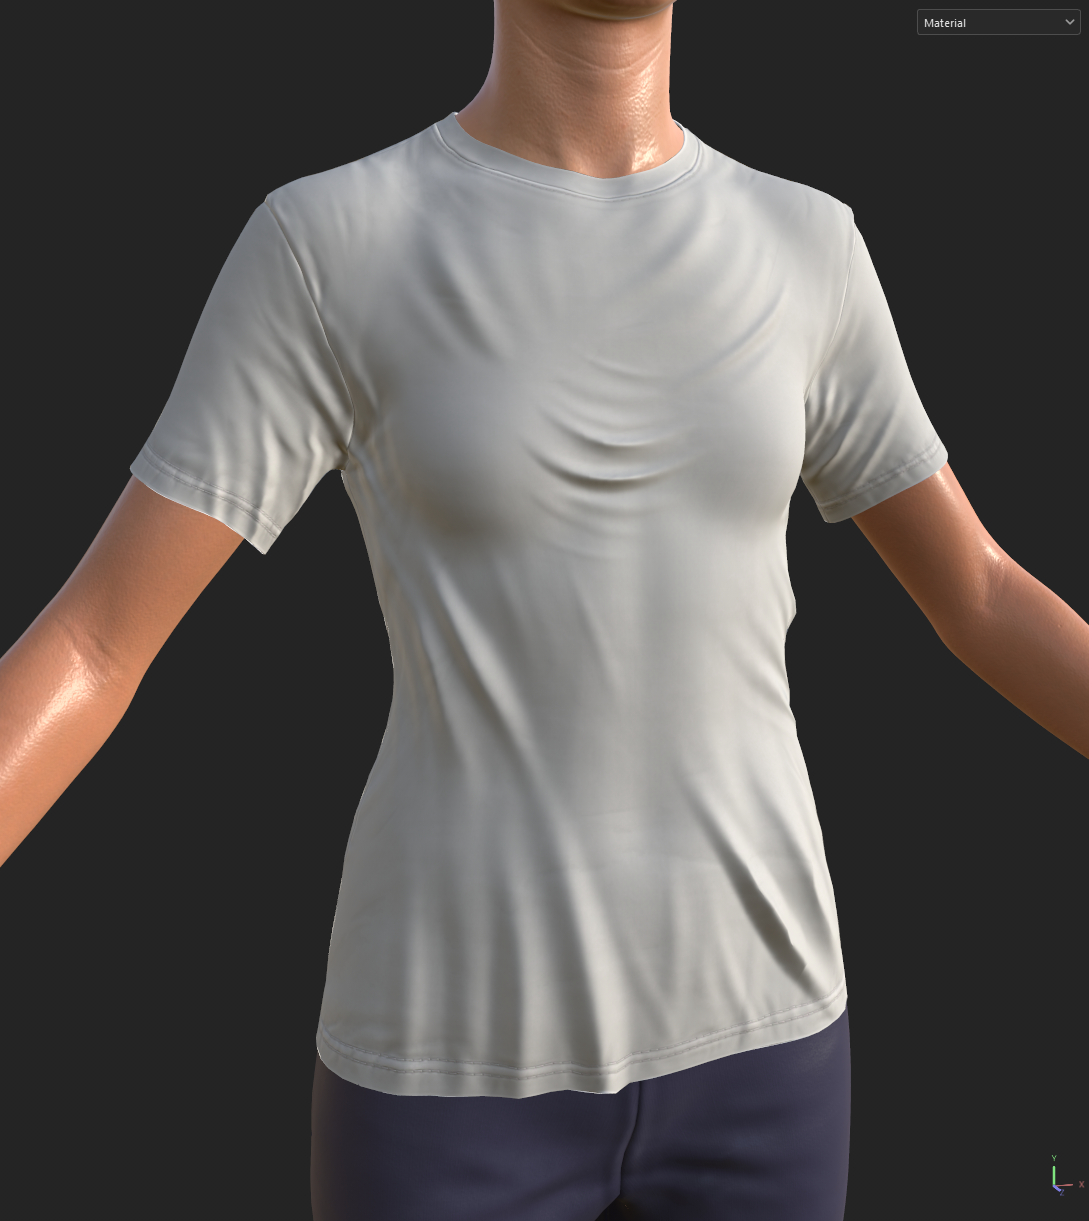
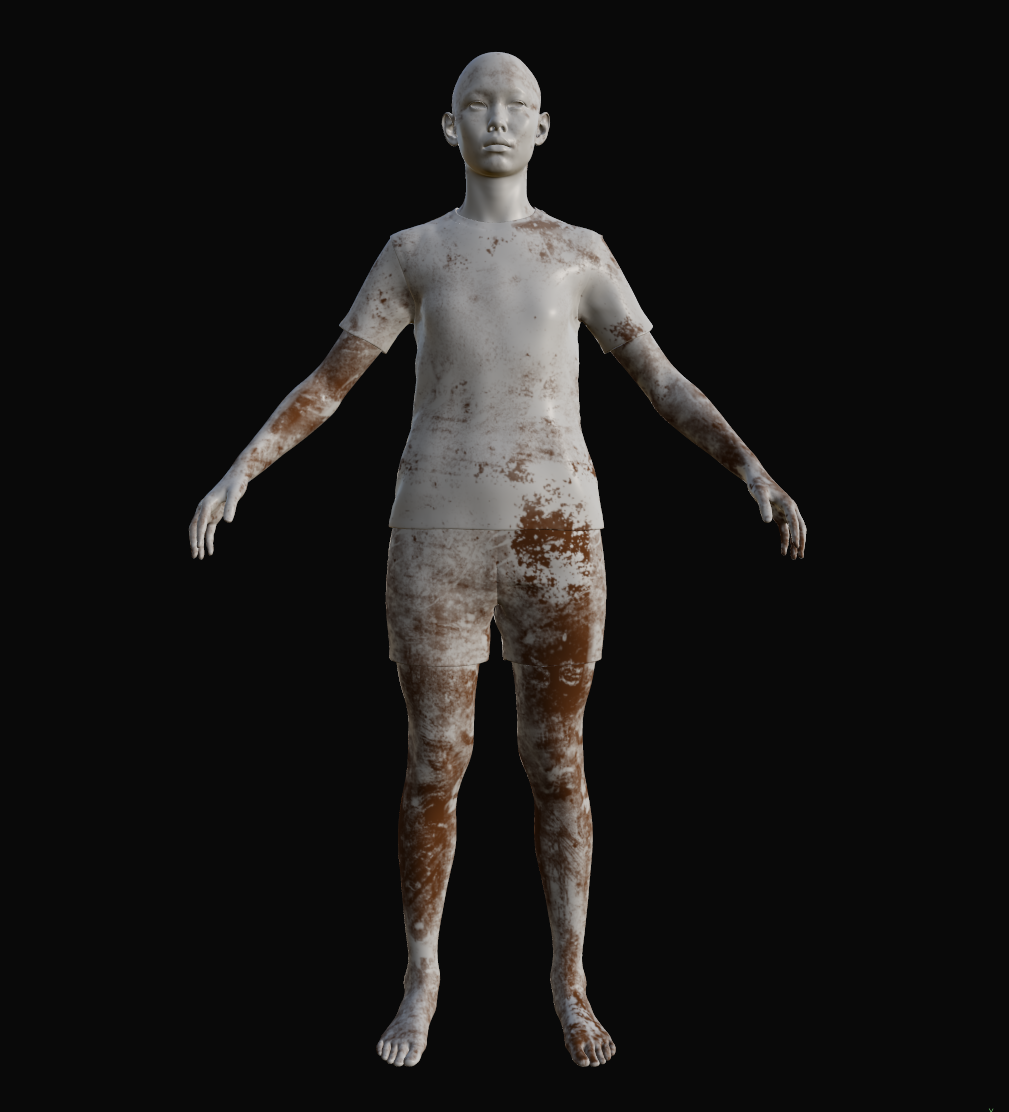
Dry and wet dirt textures were authored in Substance Painter to achieve distinct surface responses for skin and cloth. These textures are layered through the dirt shader using vertex-painted masks and wetness state.
Dry Dirt
(Lighter Color, Soft No Normal, No Specular)
The dry dirt material represents powdery surface dust with minimal height and specular response.
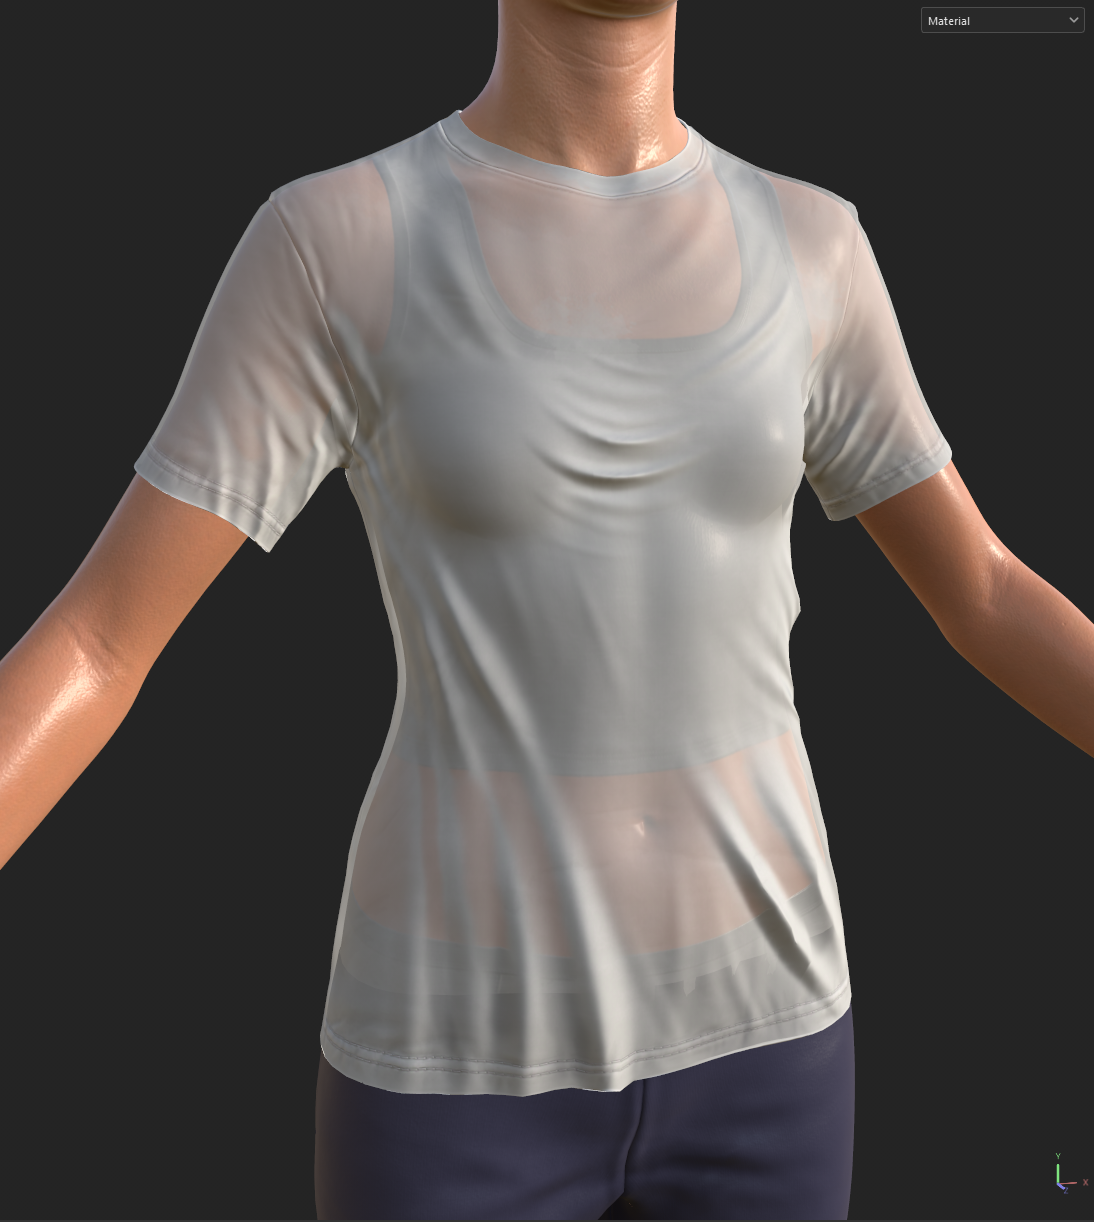
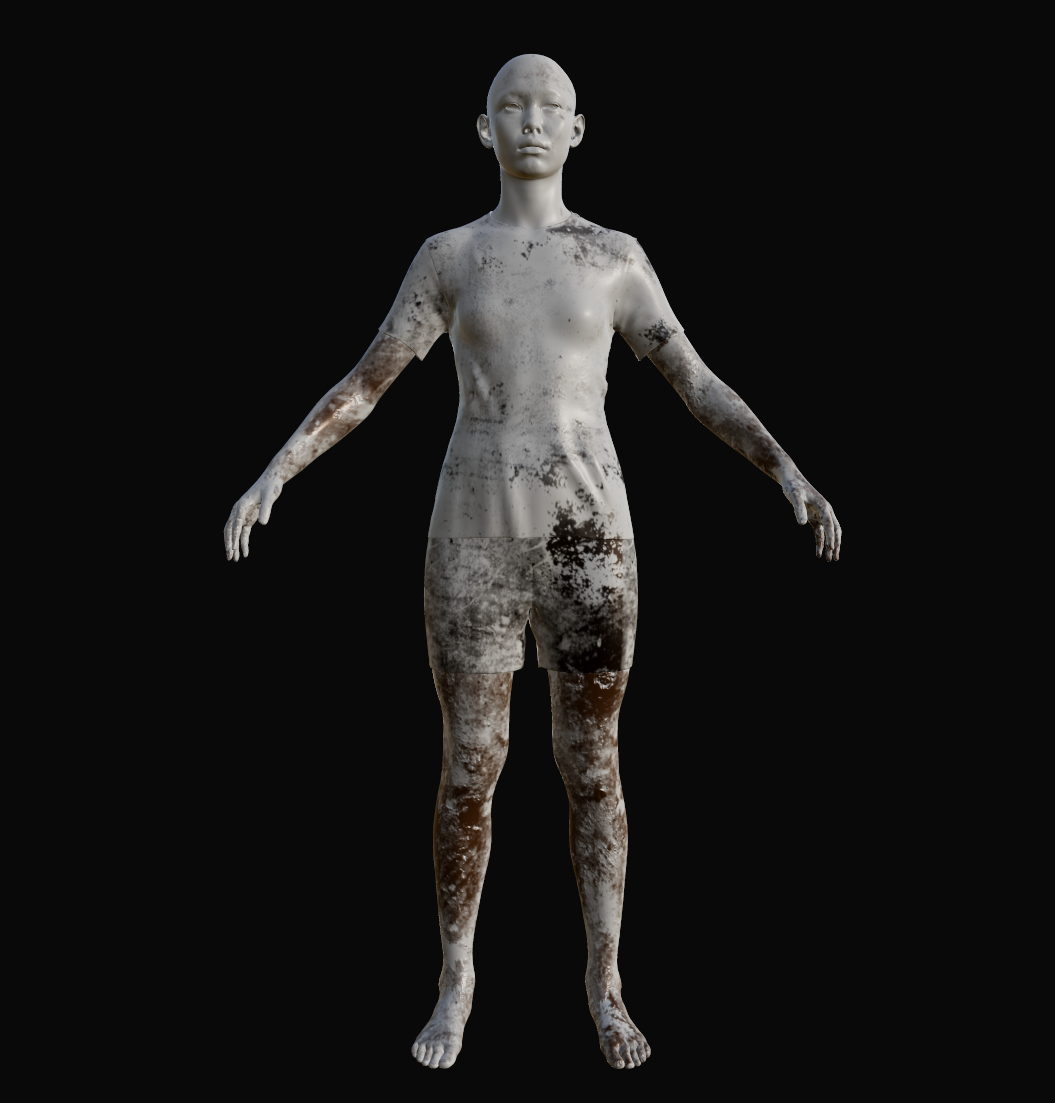
Wet Dirt
(Darker Color, Raised Normal, High Specular)
The wet dirt material represents clumped, saturated soil with increased normal intensity and stronger specular highlights.
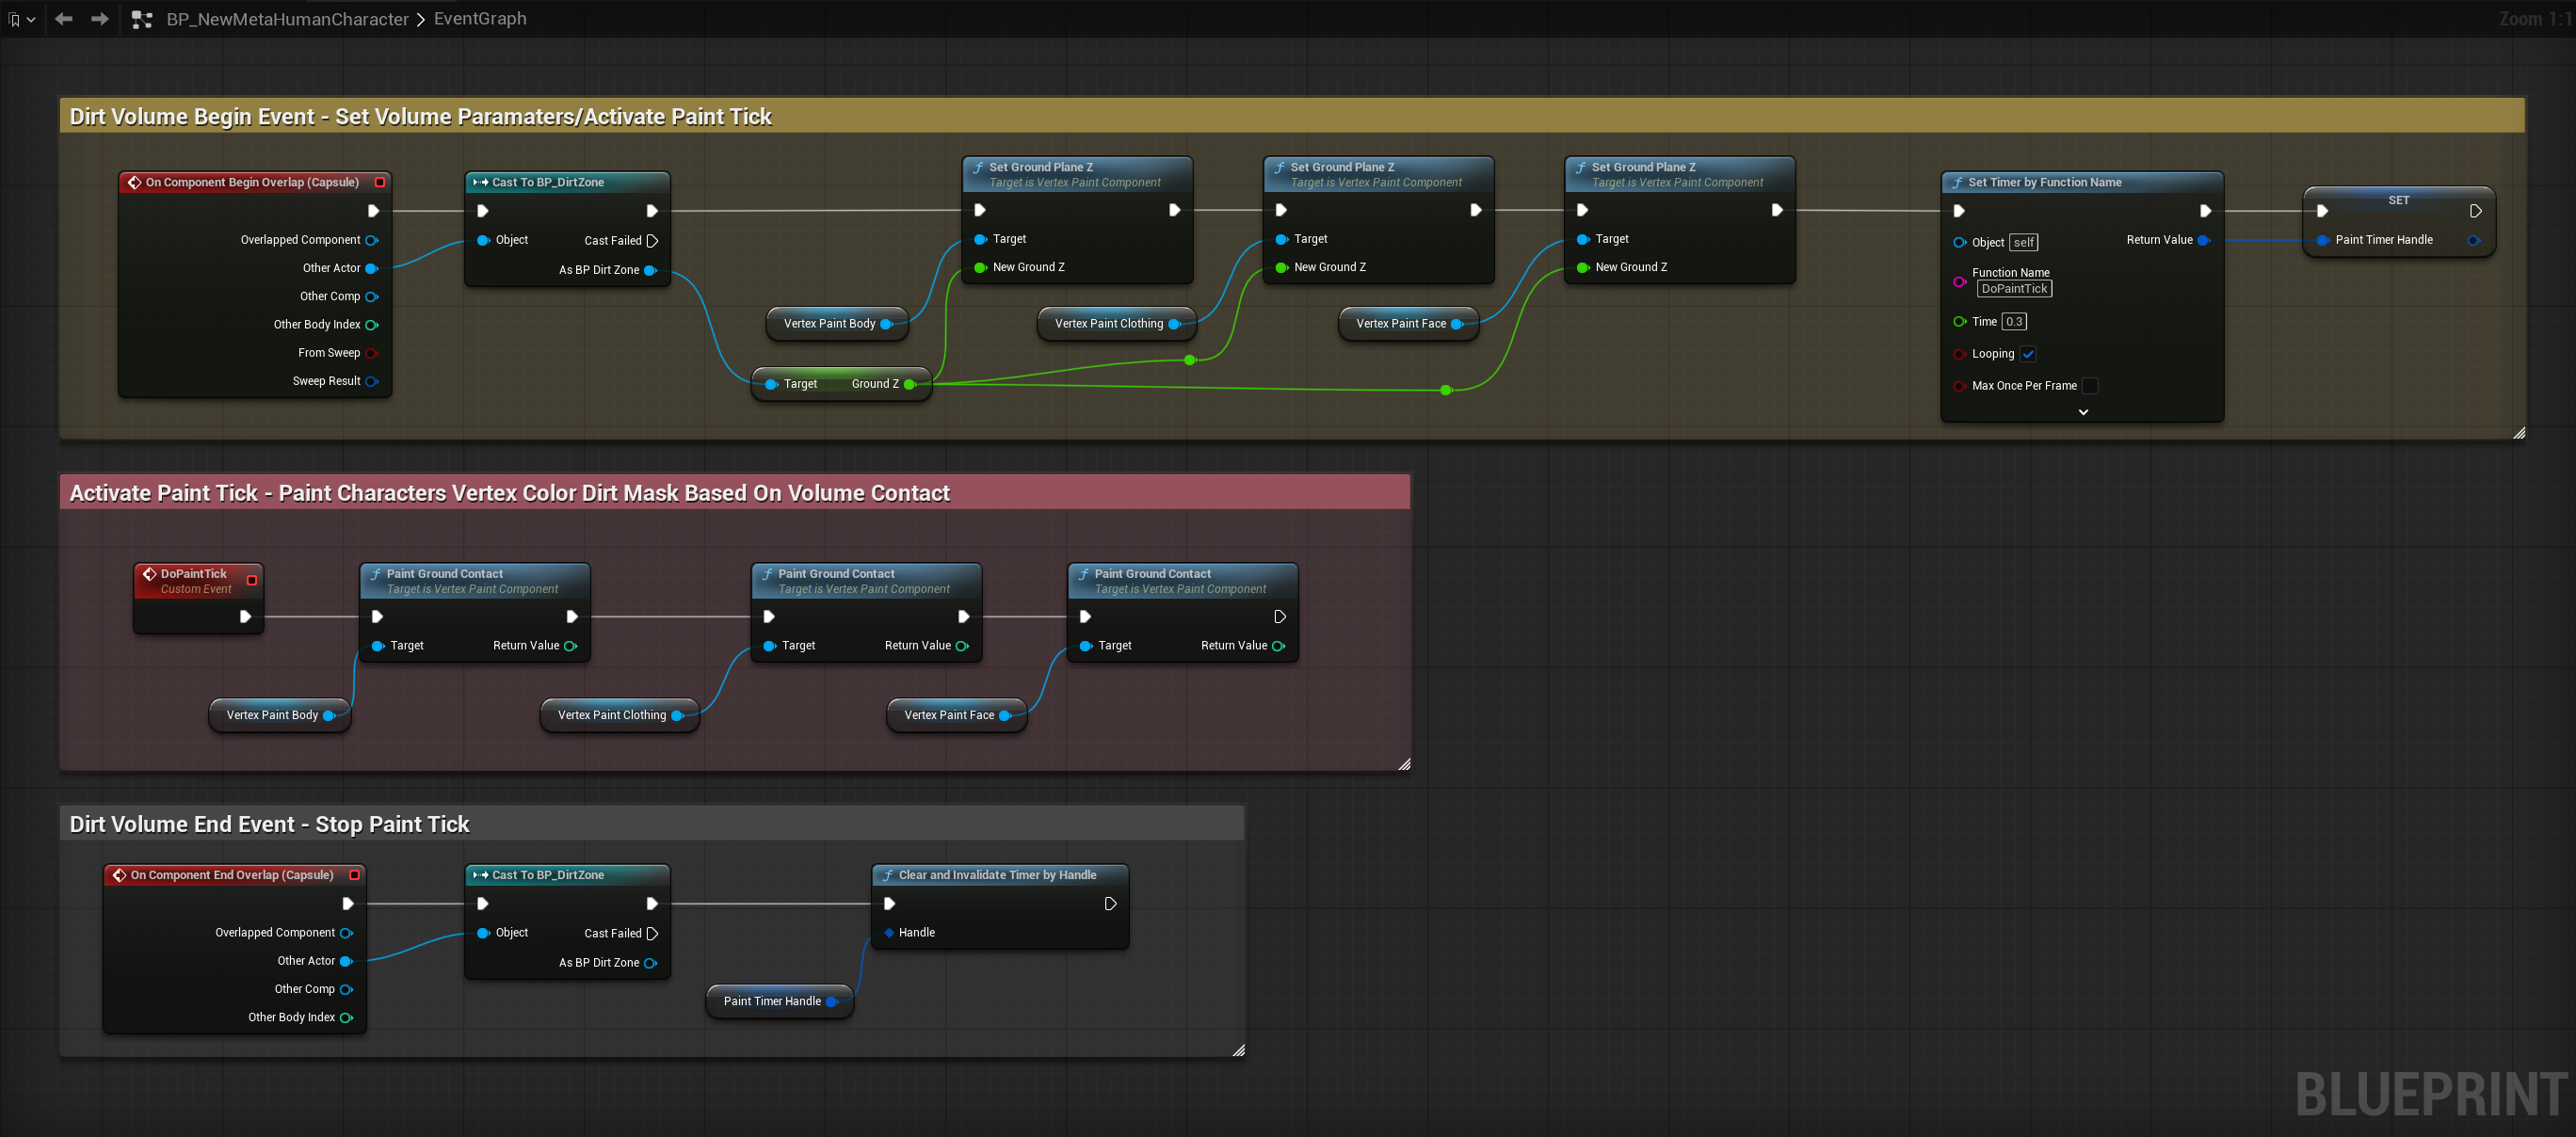
Dirt Volume Blueprint –
Runtime Contact Mask Generation
The Dirt Volume Blueprint allows artists to define ground height and influence radius to control where and how dirt can accumulate on a character. When a character enters the volume, runtime logic triggers a paint tick that drives vertex color painting on the skeletal mesh at contact points. These vertex colors are then used as masks inside the dirt shader to reveal dirt accumulation only where physical contact occurs.
Separate volumes are used for body, clothing, and head to allow independent radius control and more art-directable results. This approach enables persistent, localized dirt buildup driven by gameplay interaction rather than static textures.
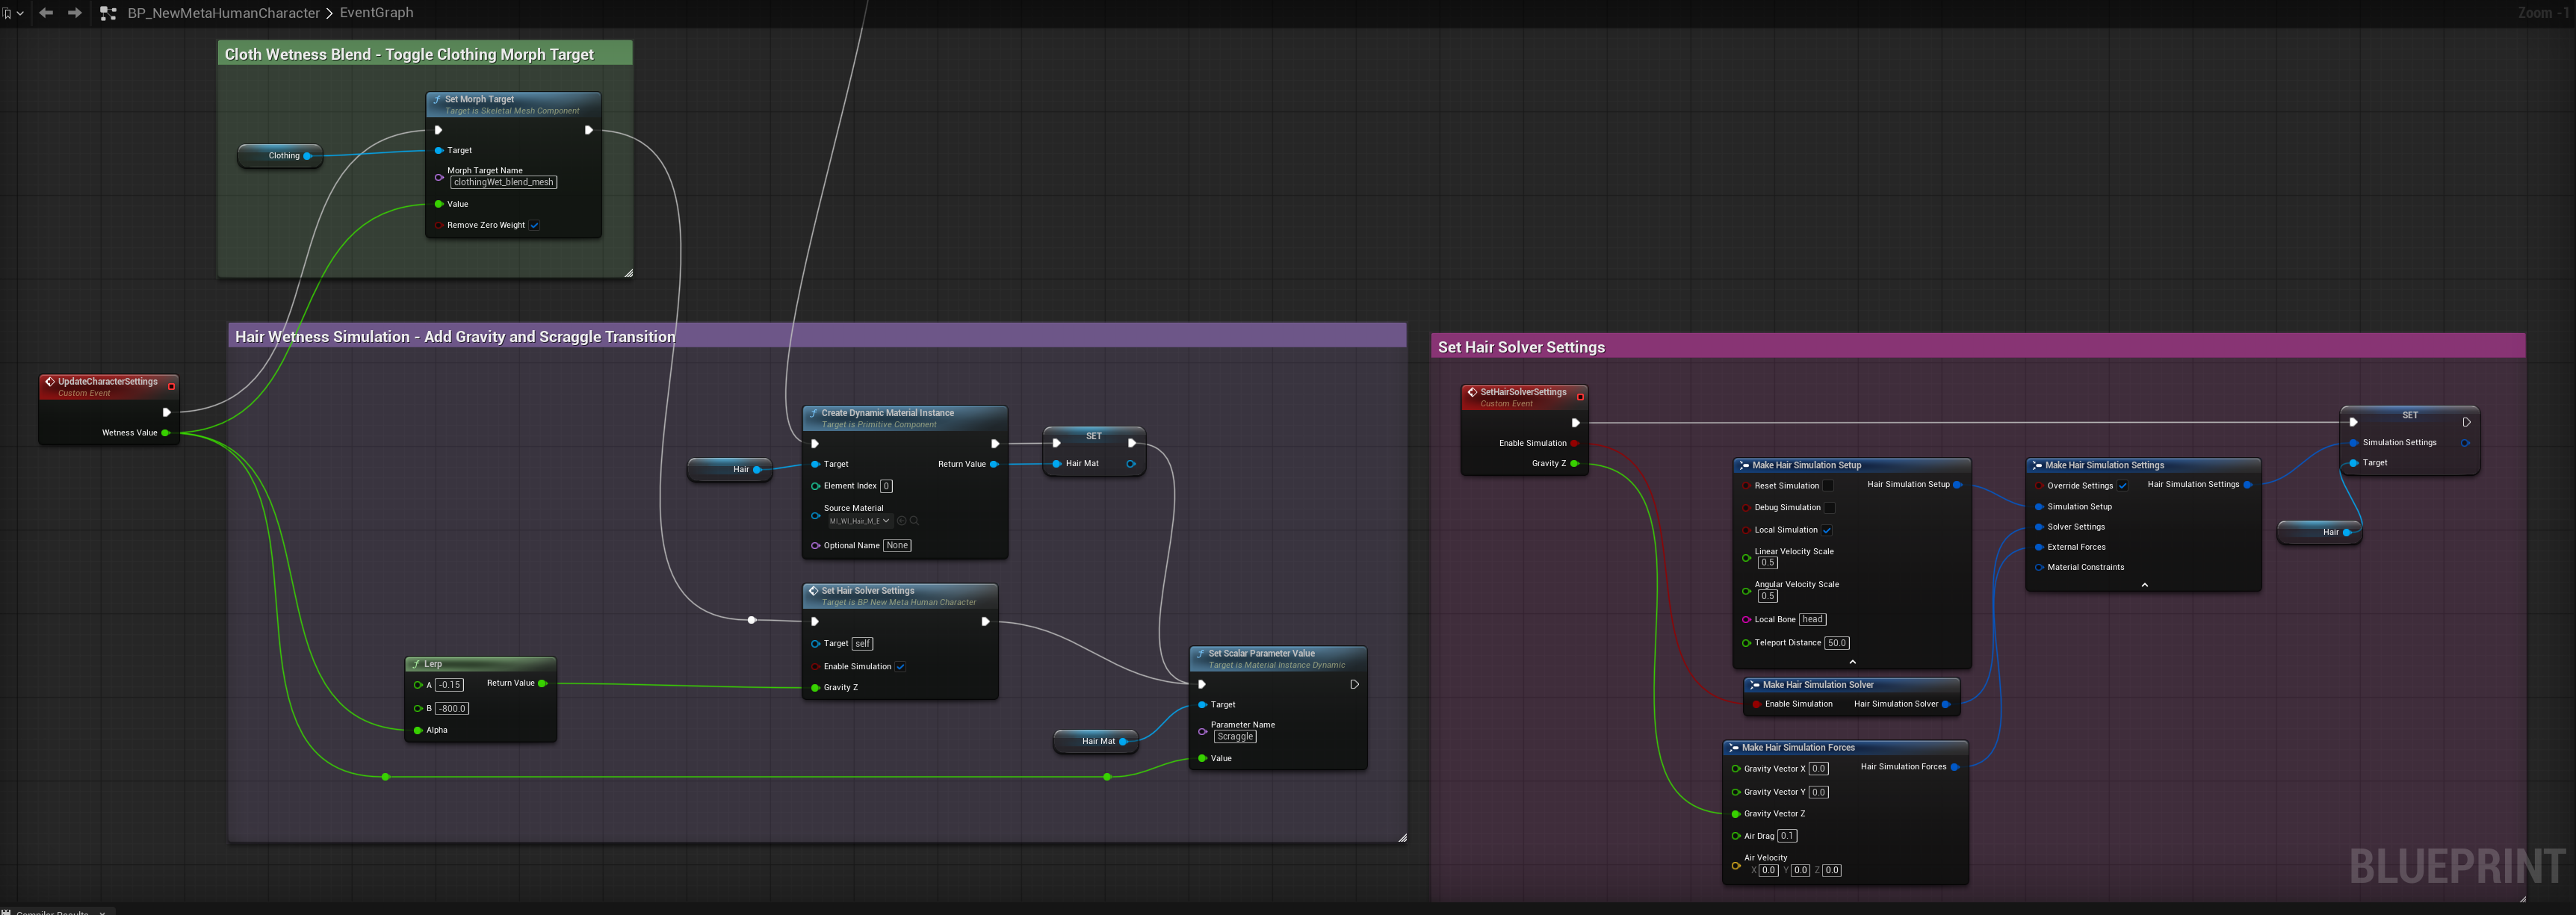
Project Summary
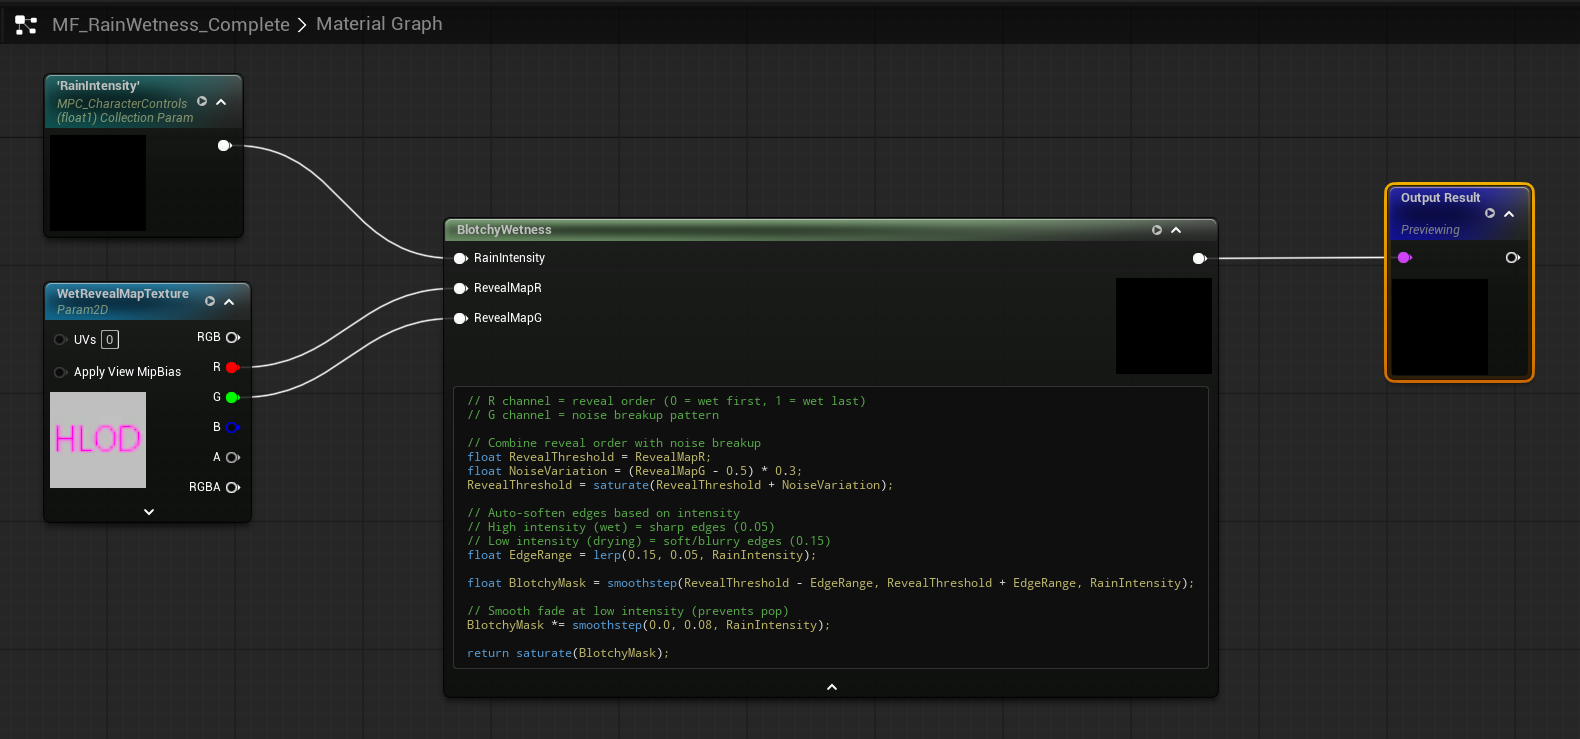
• HLSL shader authoring inside Unreal materials
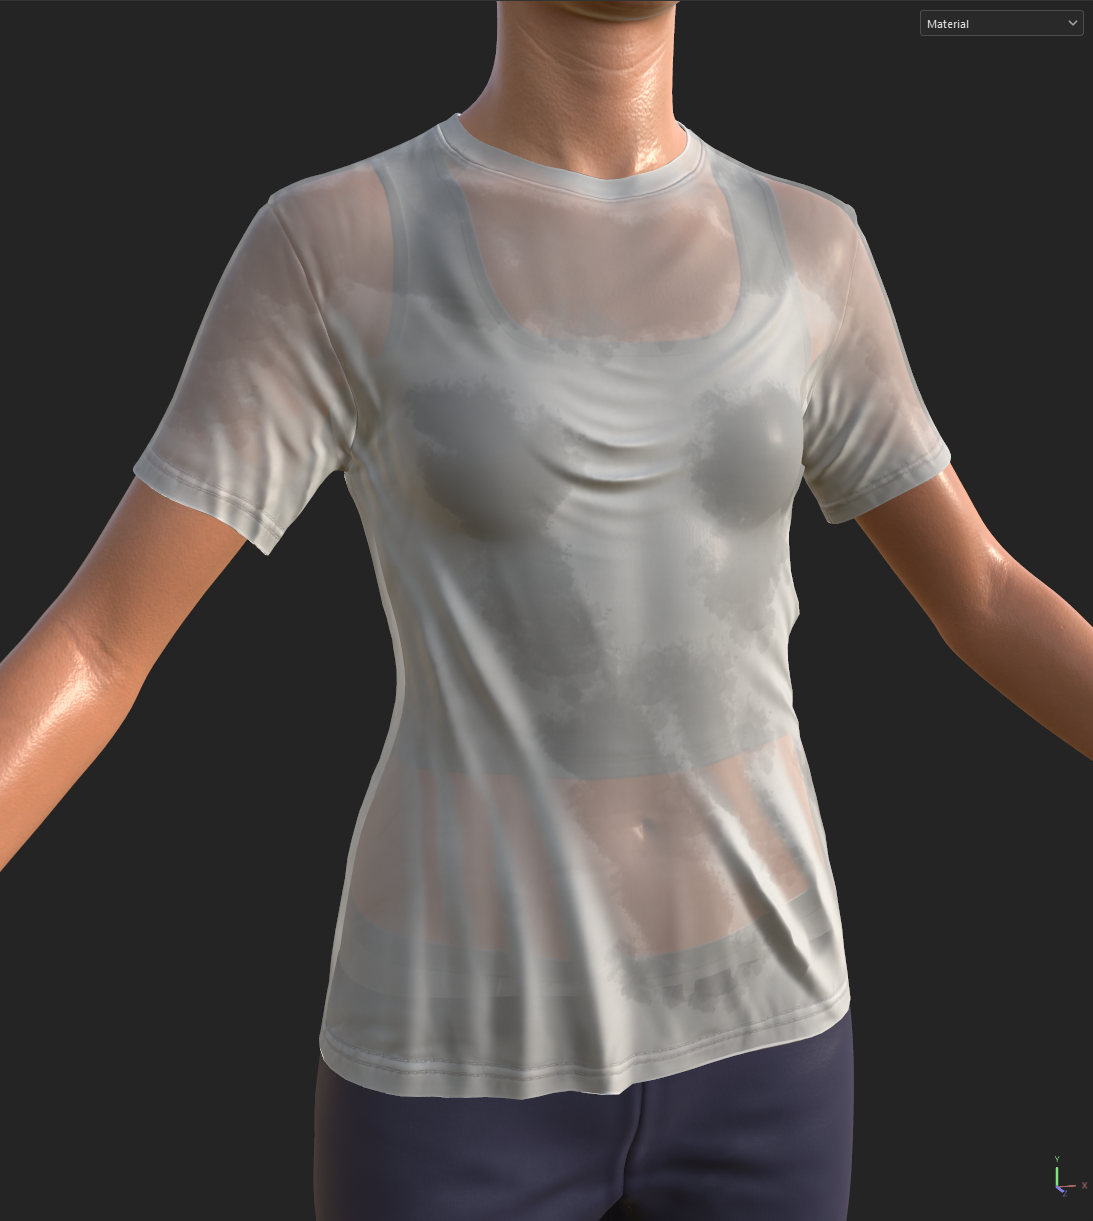
• Real-time character surface shading (wetness, dirt, cloth response)
• Modular material framework design
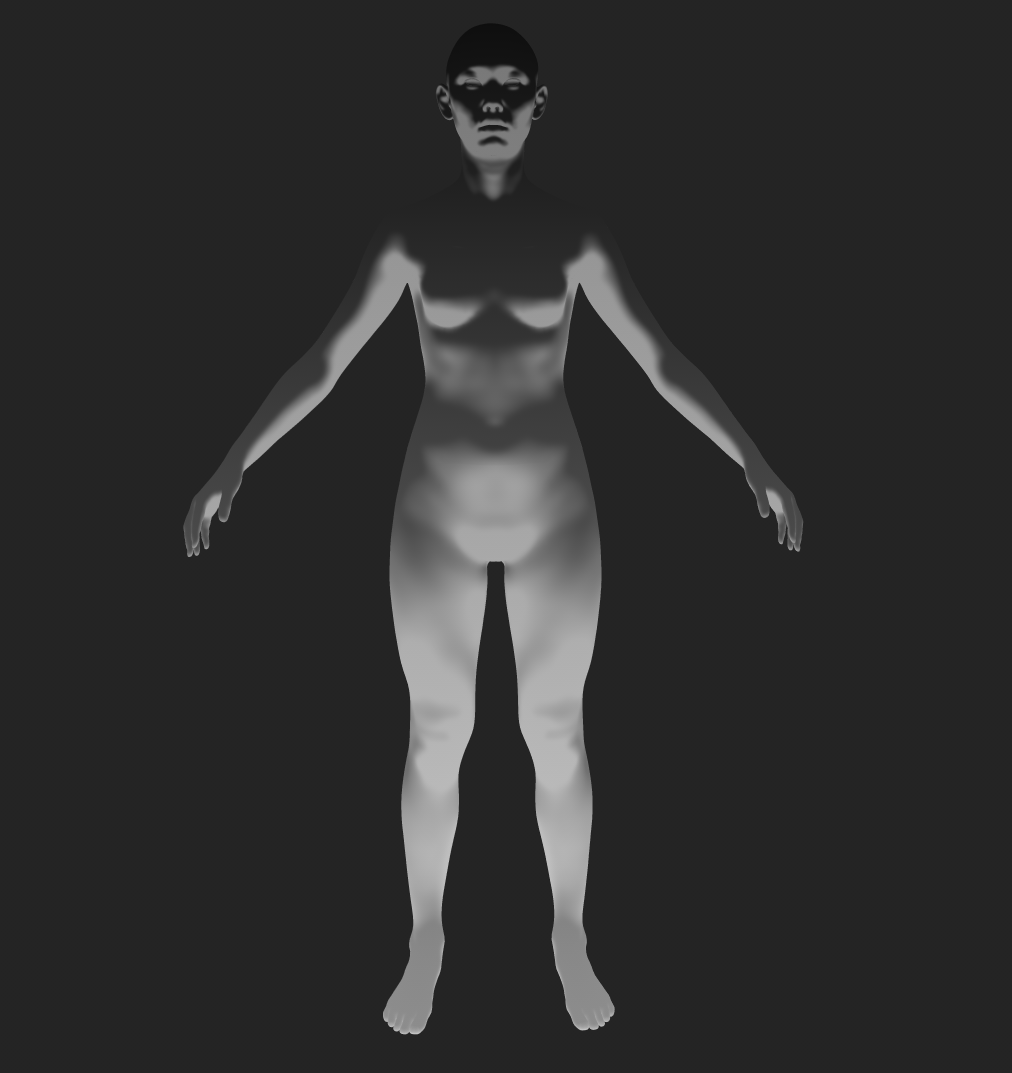
• GPU-friendly masking techniques
• Runtime vertex color painting
• C++ plugin development
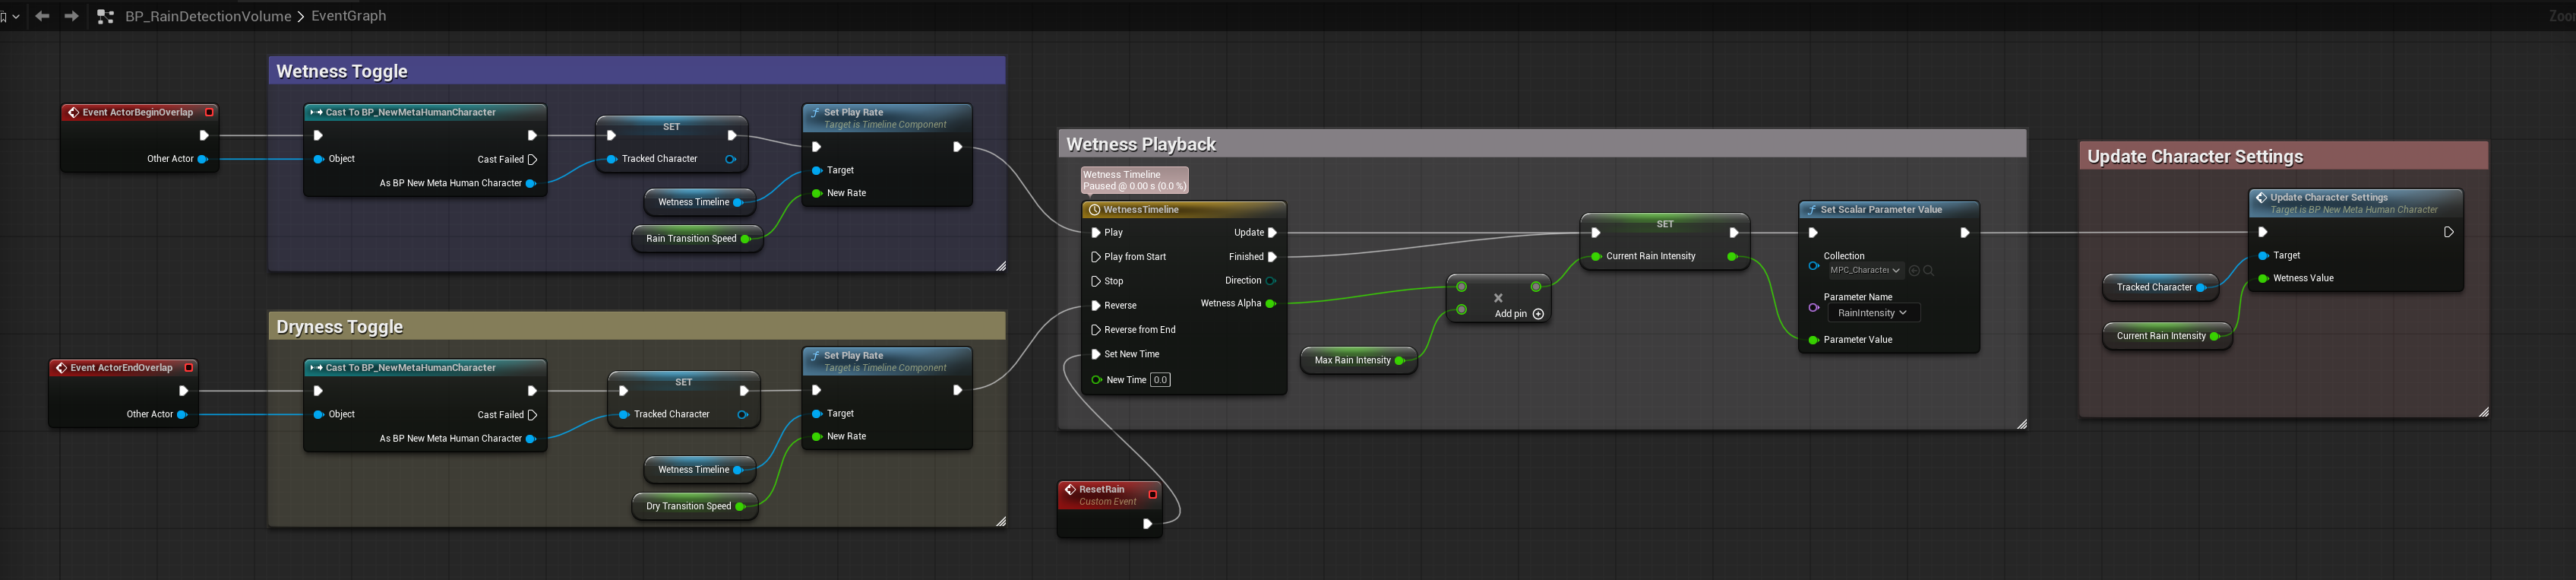
• Blueprint-driven rendering systems
• Performance-conscious rendering decisions