Modeling
"King's Statue" - Using the Bake Down Process
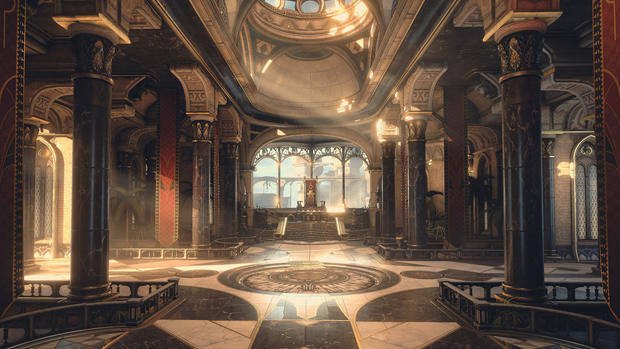
When I first started this project, Unreal 5 wasn't a thing yet. In Unreal 4, like most typical real-time workflows, hi resolution models had to be baked down with normal maps in order for Unreal Engine to display them at a decent frames per second. Knowing I was going to build a statue model with this much detail, I wanted to really plan out my workflow in order to make this easier for me. Below I explain my process with you and how I achieved the results you see above, which was captured in Unreal Engine.
Maya - Pose Low Poly Character
I knew I needed a way to easily pose this character. In Maya I imported a generic male model asset, rigged it with bones and controls, modeled the base geo for his clothing and skinned those to his rig as well. I also setup a simple cloth rig to sim the roman skirt as he settled into his pose. Using the rig controls I animated him from a t-pose into a sitting pose which gave me his posed geo to take into the next part of the modeling process.
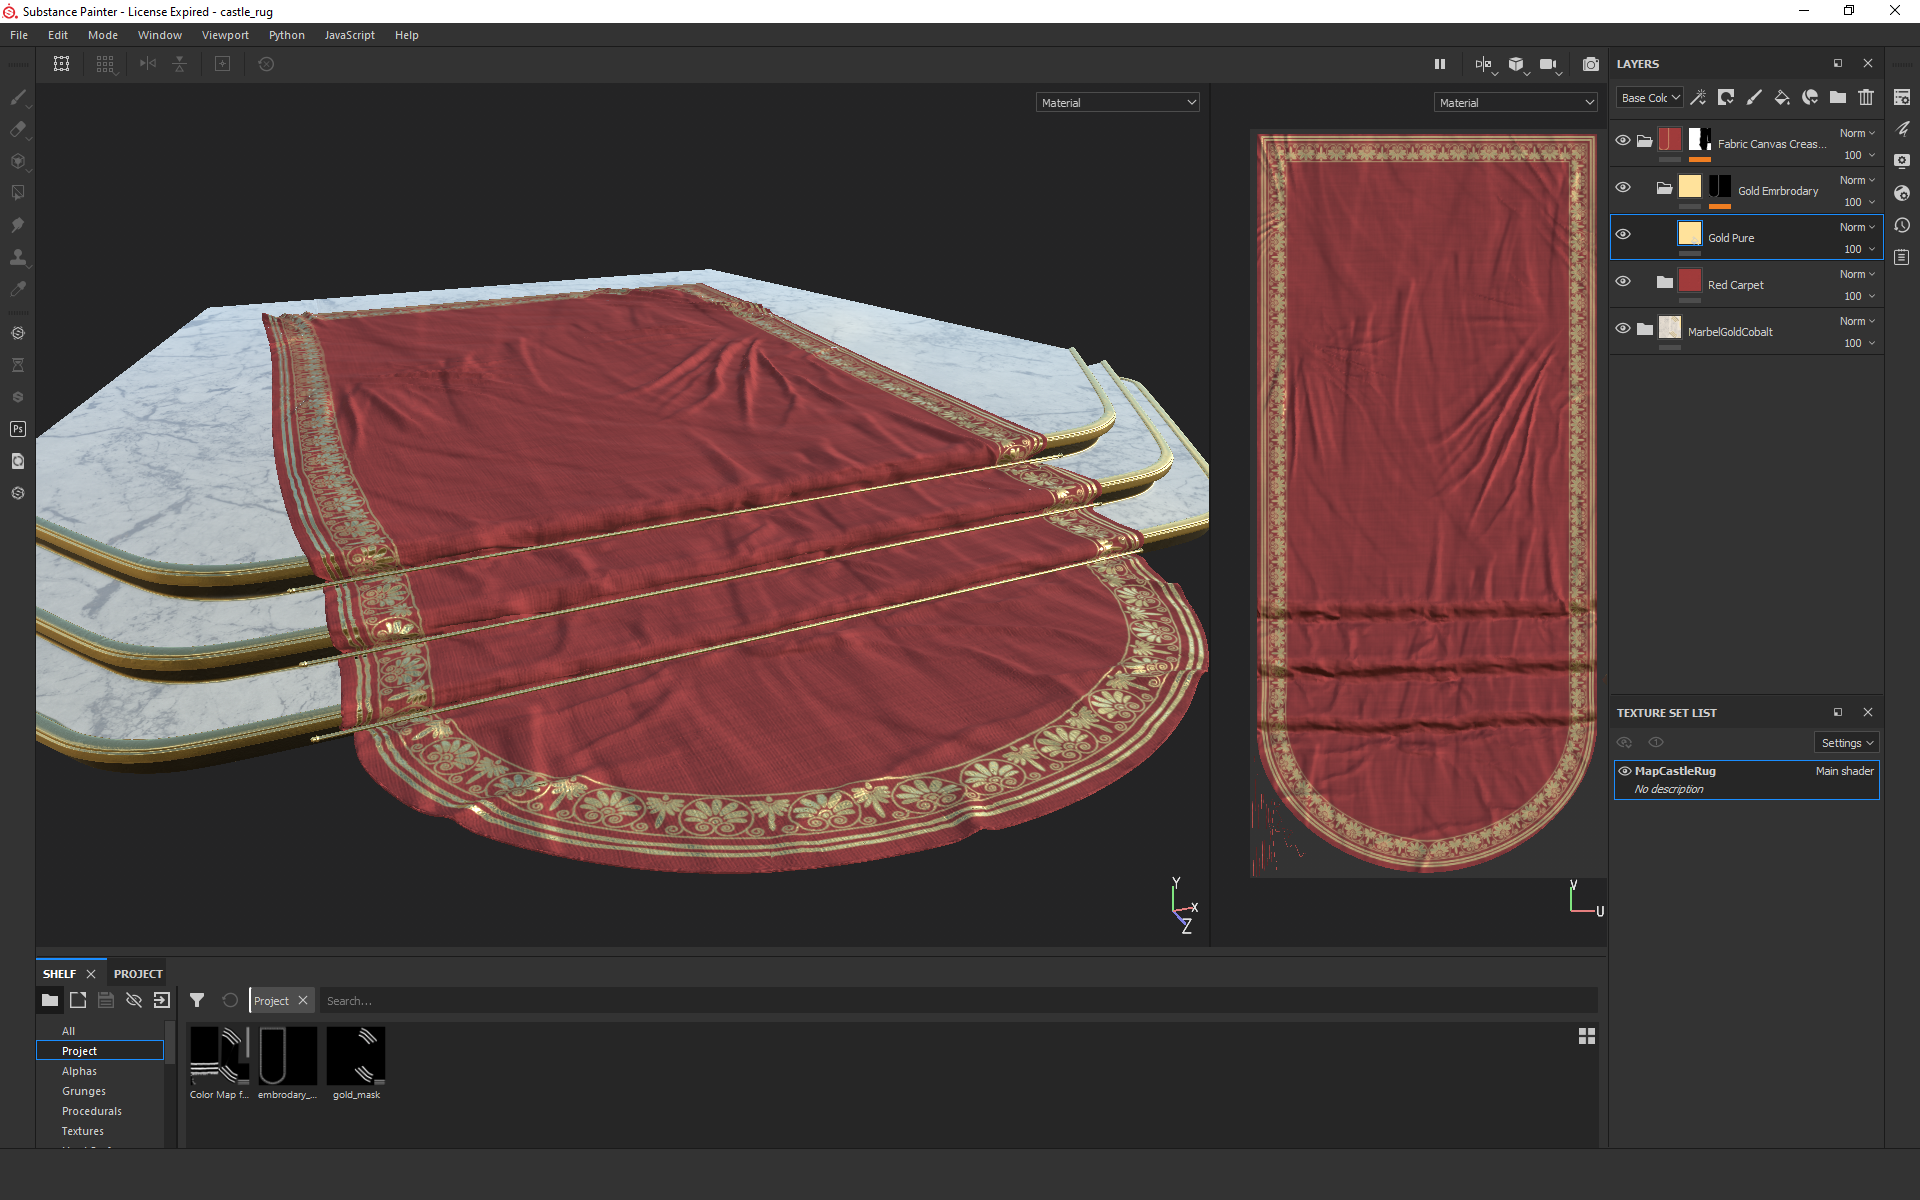
Marvelous Designer - Drape Cloth Cape
After getting him posed the way I liked it, I created a rough blocking geo of his chair. Taking his posed geo and chair I exported that data to import into Marvelous Designer. In Marvelous I created the pattern and drape of his cape. This allowed me to quickly design the look of the cape and how it wrapped around his body. It also made it easier to design the look for how the cape would rest against the steps. This process also became very useful when I worked with the drape of the curtains and rug in my scene.
Zbrush - Sculpt High Poly Model
Once the rough blocking of his pose and cloth were established, the next step was to import this data into Zbrush to start sculpting the high poly model. I was able to use my IPad and pressure sensitive pen to sculpt the model you see above.
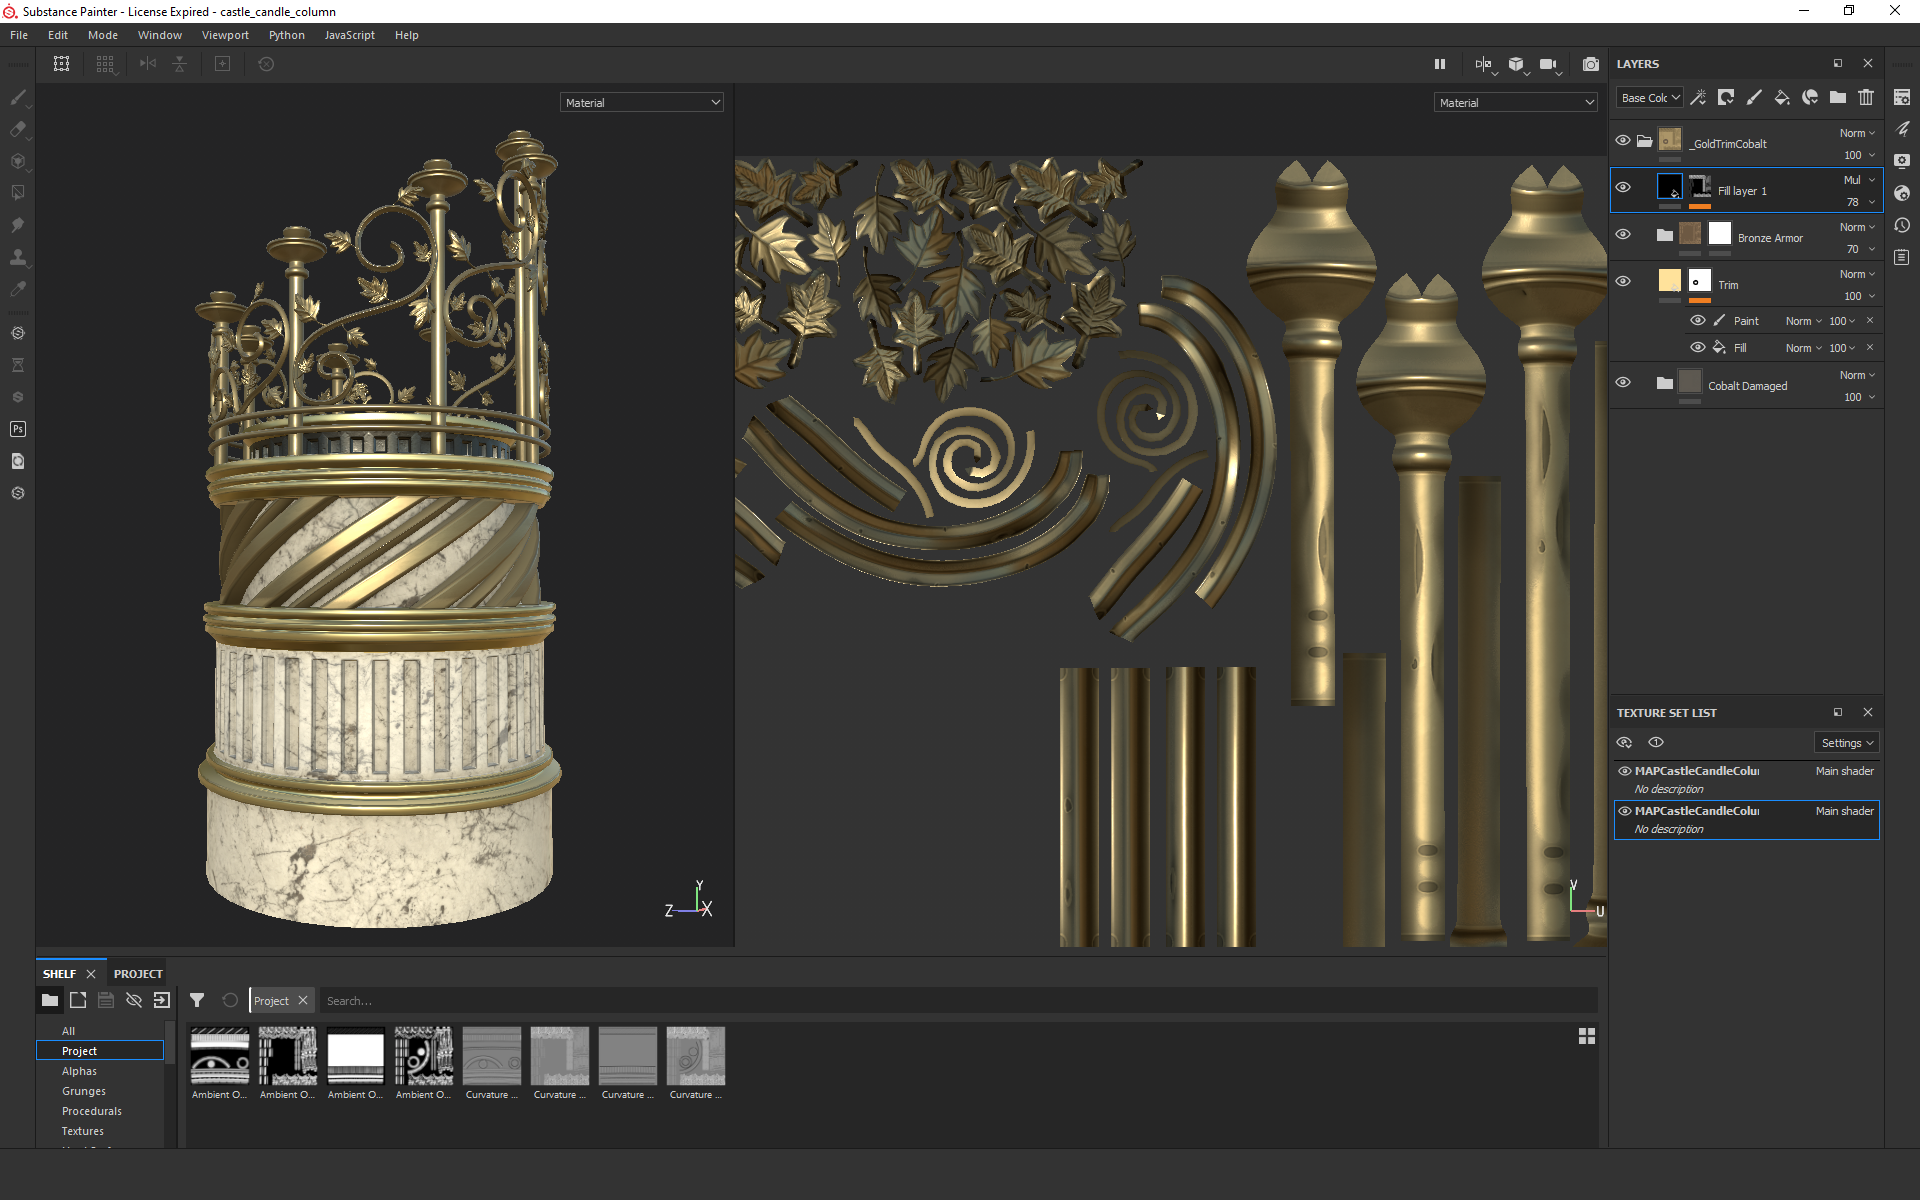
Maya - Retopologize and UV Low Resolution Model

After finishing the Zbrush model, the next step is to re-topologize the low resolution mesh to be able to bake down the normal maps of the high mesh. Now I know Zbrush has it's own retopo tools which I've used, but I've also used the ones in Maya which I'm a bigger fan of. To do this, first I like to decimate my Zbrush model which will optimize the poly count in order to import into Maya and Substance Painter. If done right the decimate process shouldn't visually change the look of the high poly model but should decrease the poly count a lot. In the example above I was able to decimate my Zbrush model originally from 52 million points down to 10 million points. After I import my decimated mesh into Maya, I turn on Maya live mode and then use the handy create polygon tool to start building out my low resolution mesh, using the high mesh as a guide. Once I finish modeling my low resolution mesh, I then UV that mesh. Since I'm dealing with a very large model and I want the textures to hold up when our camera gets super close to this it in game, I decided to break off this model into 6 separate 4k maps. For me it's better to initially work at the highest texture quality, then optimize down if your game setup requires it.
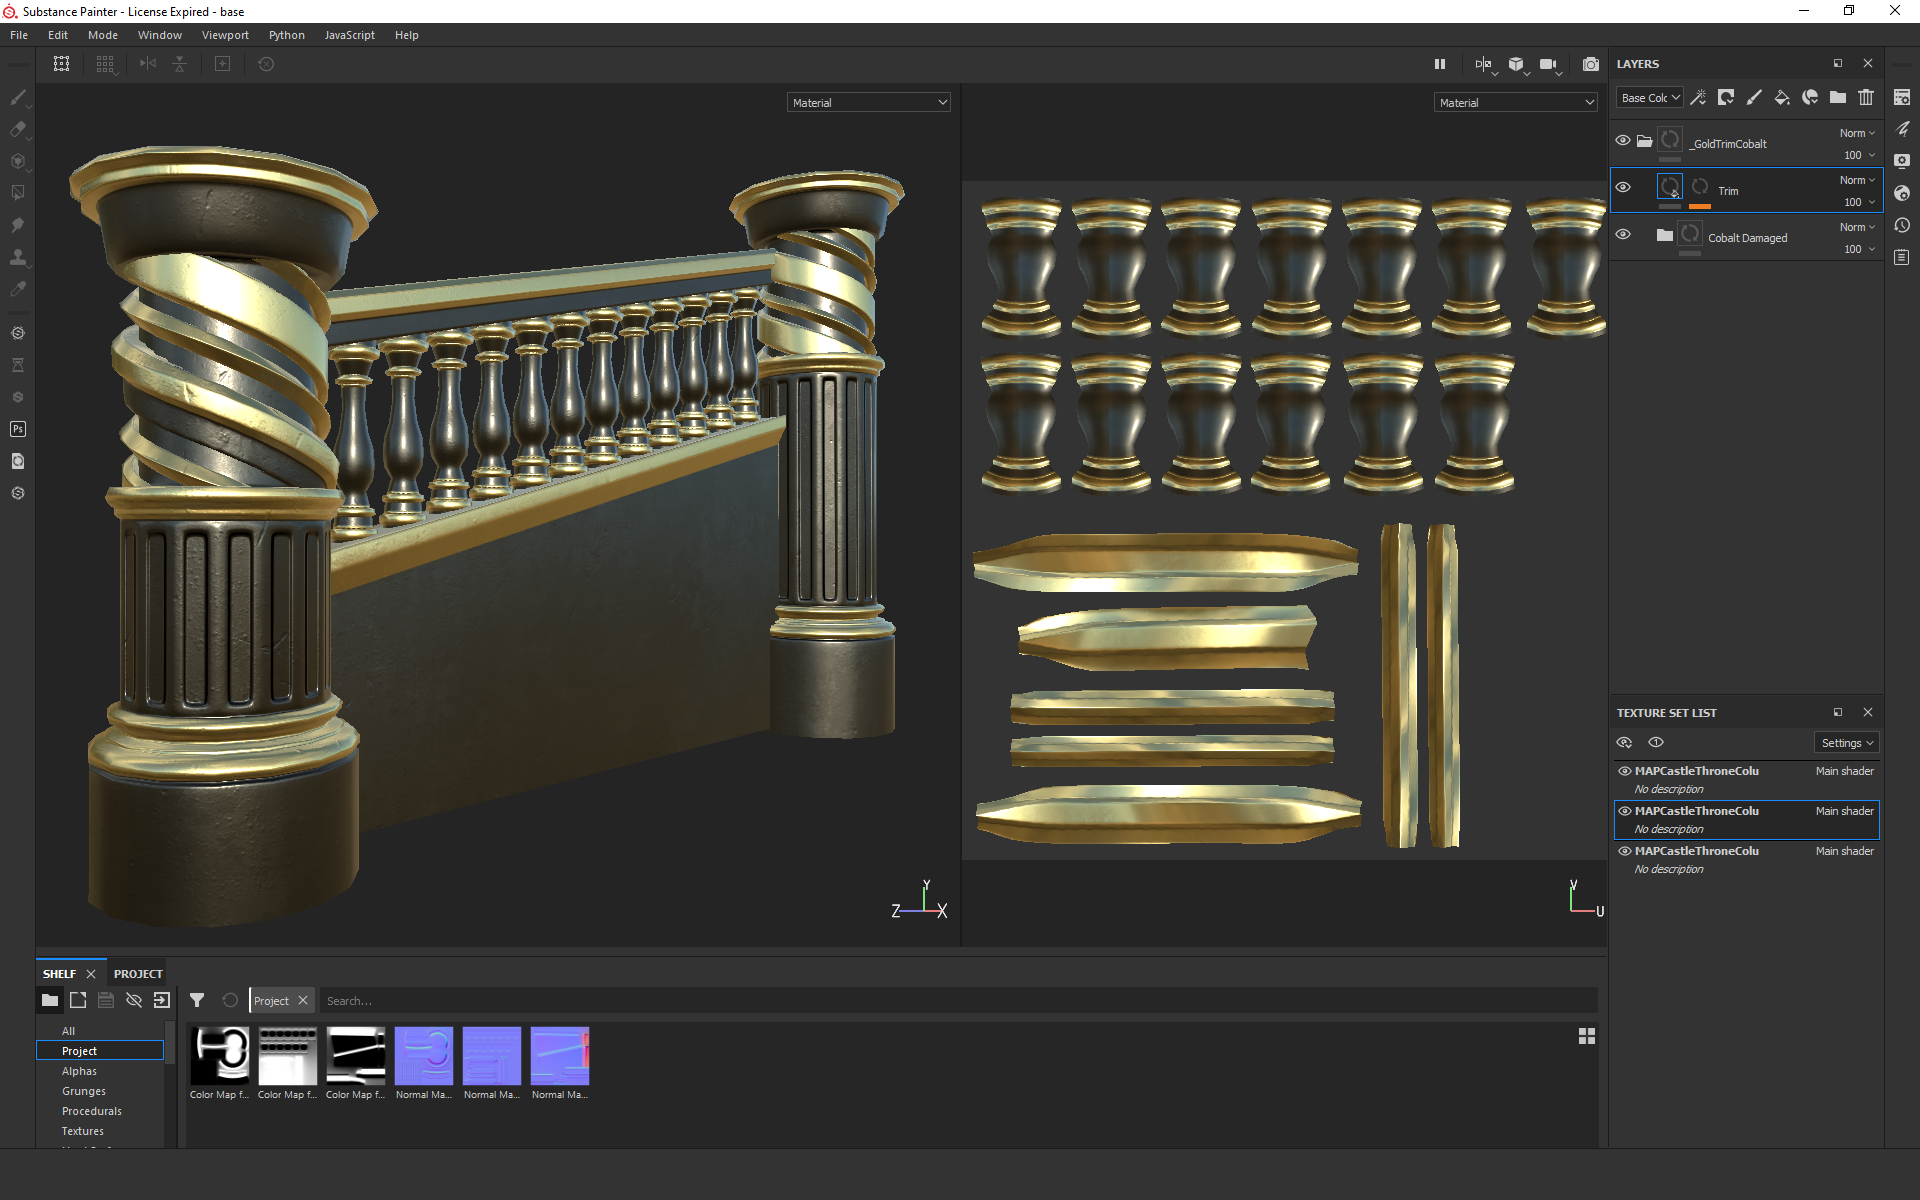
Substance Painter - Bake Down Normal Maps

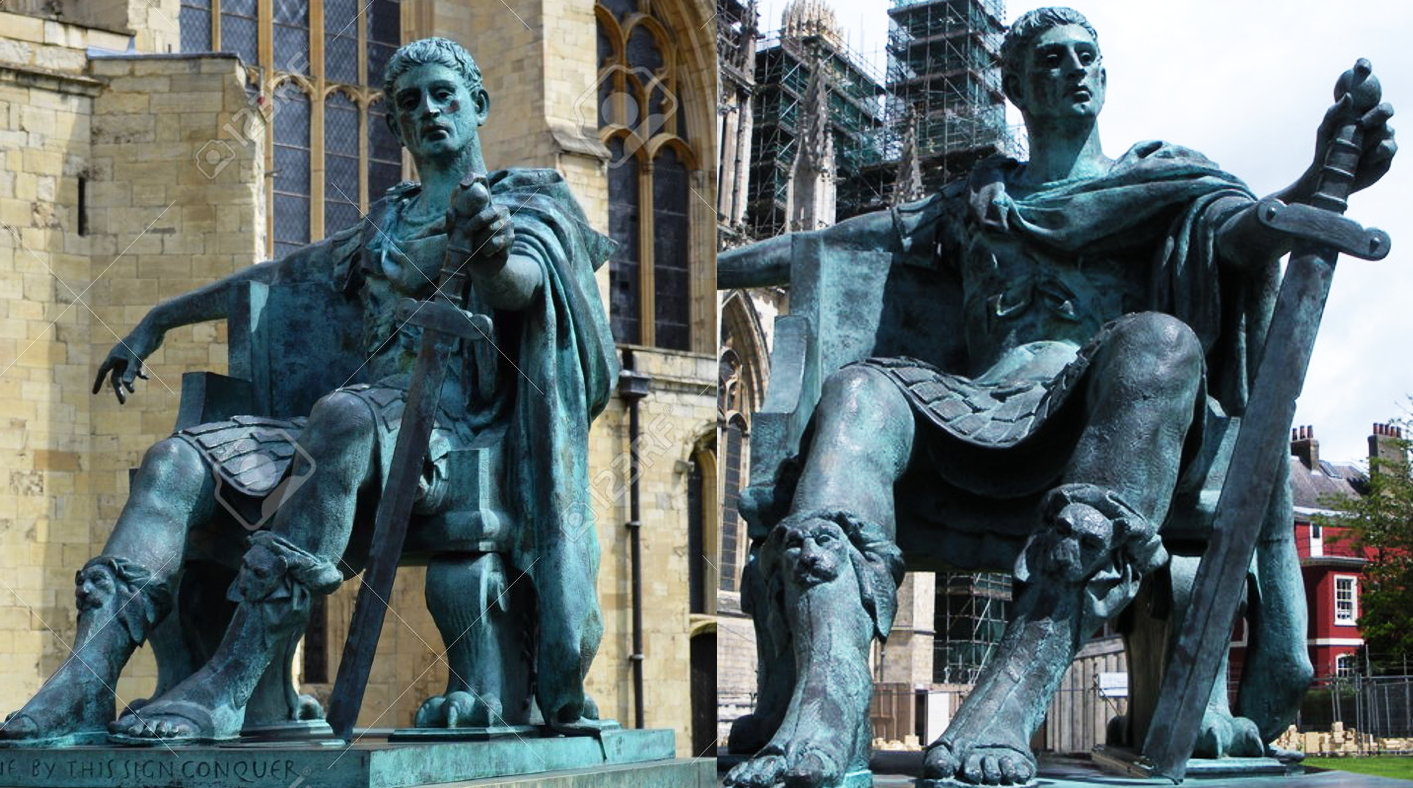
Now that I have my low resolution mesh and my zBrush decimated high mesh both saved out, I can now import that into Substance Painter to do my normal map bake down process. Looking at the image above, this is how Unreal renders the mesh before and after normal maps are applied. Surprisingly the results hold up pretty well depending on how close you get to the model. Now if you were to zoom in really close I'm sure the effect wouldn't hold up as well since this is technically a cheat. That's why its good to compare this current method of game modeling versus what you can do now in Unreal 5, which I document in the next section.
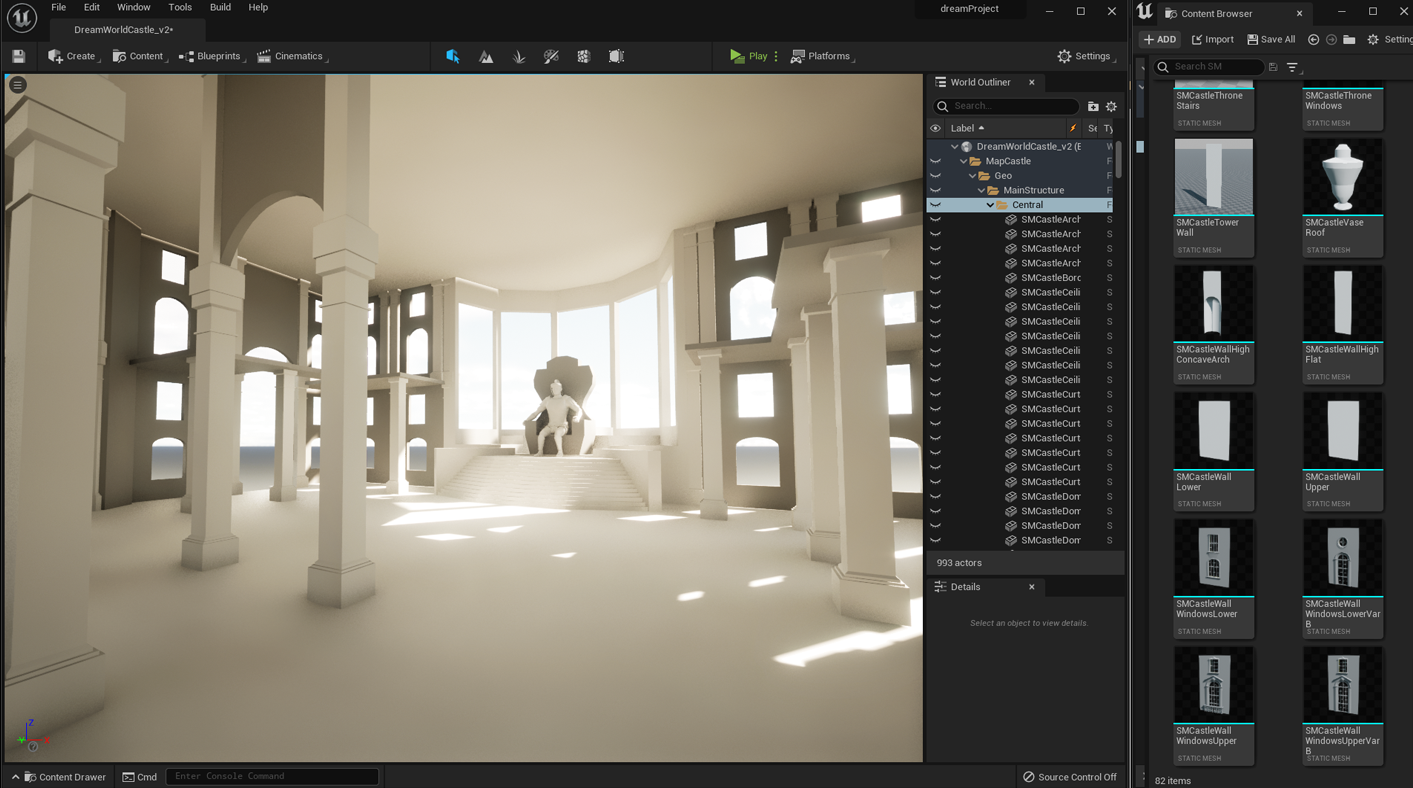
"King's Chest" - Using the Awesome New Nanite Feature in Unreal 5

I started my project working in Unreal 4, but as soon as they released an early access version of Unreal 5 I wanted to jump in right away to start playing with all the newest features. One of the features I was most excited about was the introduction of Nanite, a dynamic lod system that is able to render high poly model assets without slowing down the frames per second. Because of this, artists can now import their high polygon models directly from Zbrush, with no low to high normal map bakes needed! Having seen the recent demos I knew I wanted to give this a try and boy am I glad I did! The amazing amount of detail I'm able to produce in my project now is huge and will allow me to realize my creative vision in less time and in higher fidelity without taking a hit to my fps.
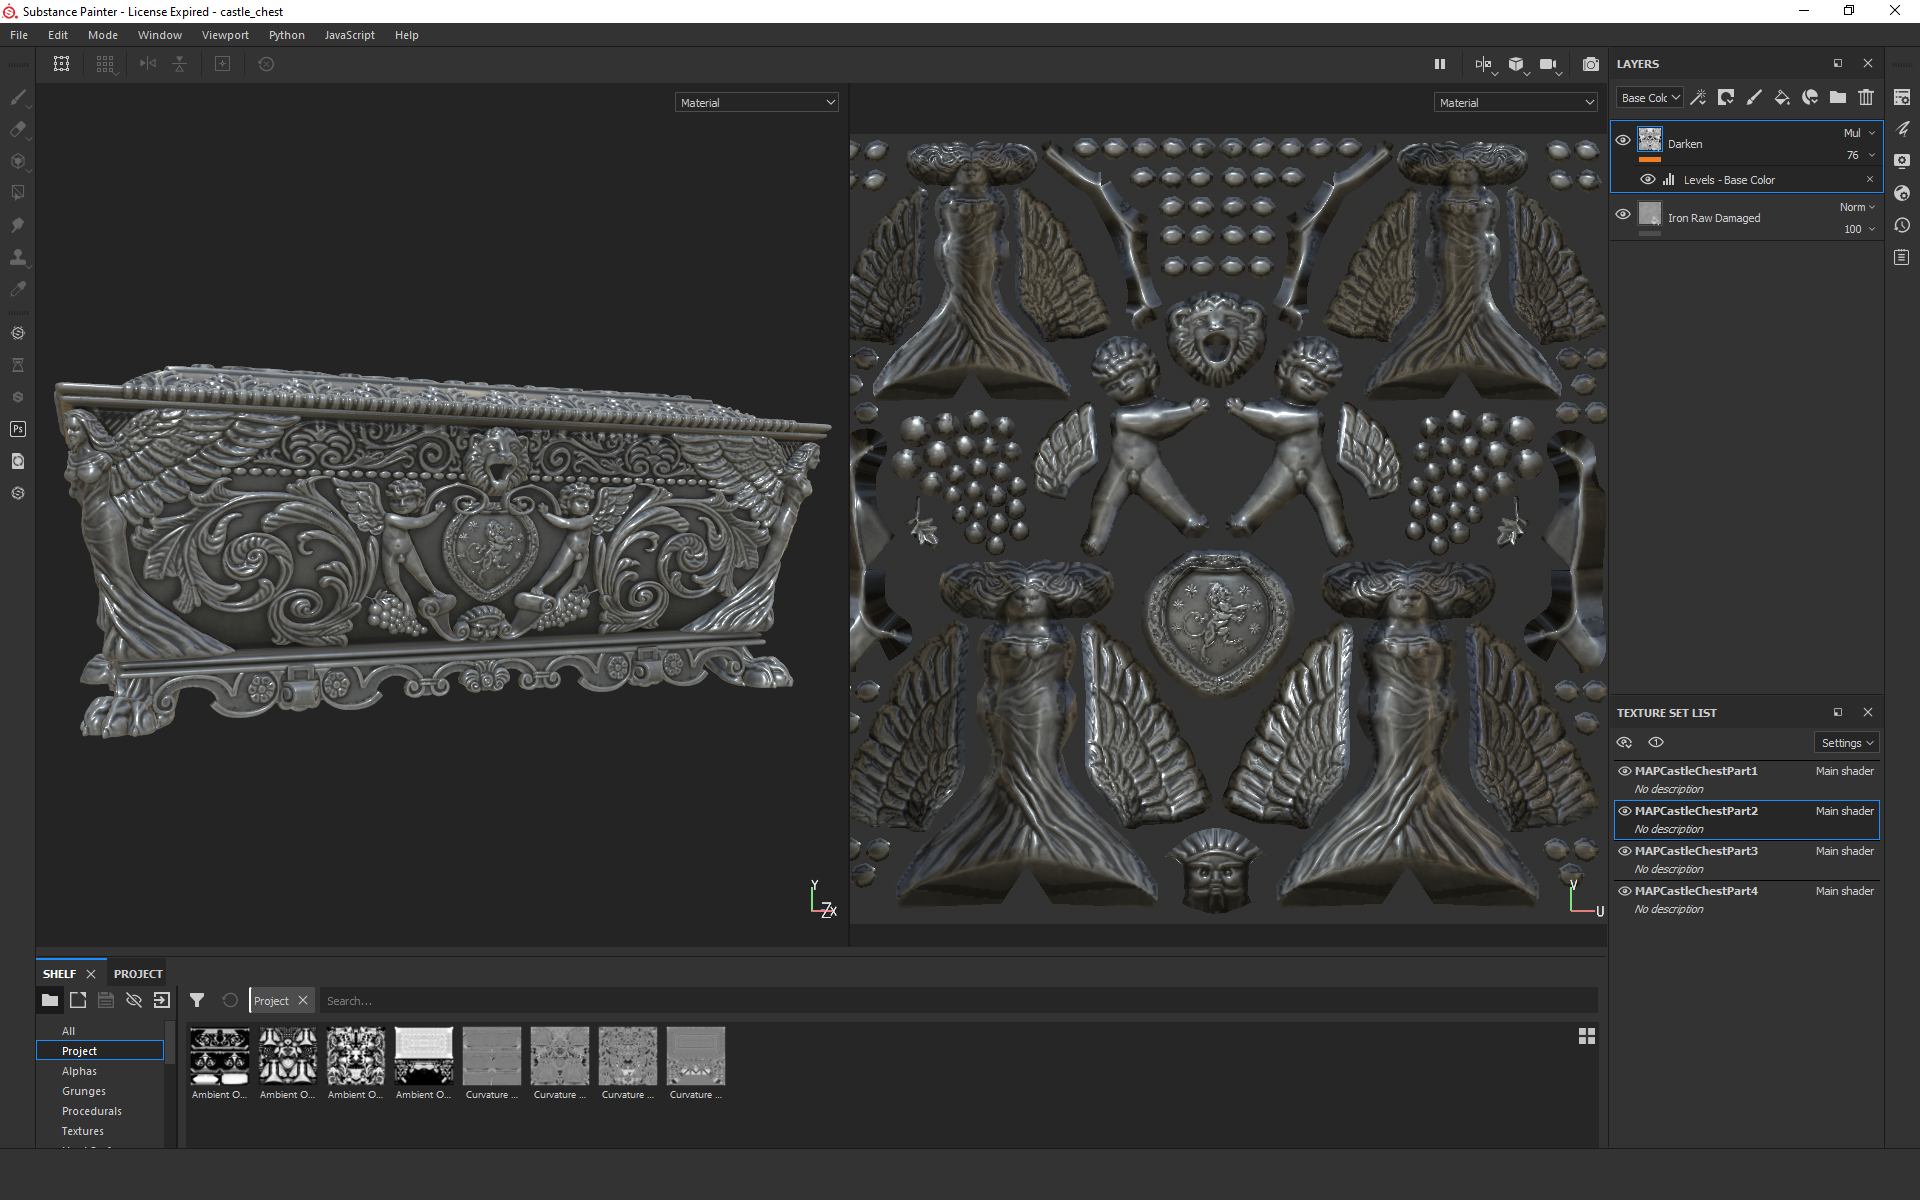
Zbrush - Sculpt High Poly Model
Here is me jumping right into Zbrush to create the King's Chest. Knowing this asset will go directly into Unreal, I'm able to jump right into the creative process. No longer do I have to worry about the optimization steps it would take to get my model inside the game engine like I had to before. The model you see here was originally 17 million points but after decimation I was able to get it down to 888,000 points. Even though Unreal can handle an extreme amount of polygons I still decimate my models to save on file size and also to help with optimization when importing to other software packages like Substance Painter where I texture my models.
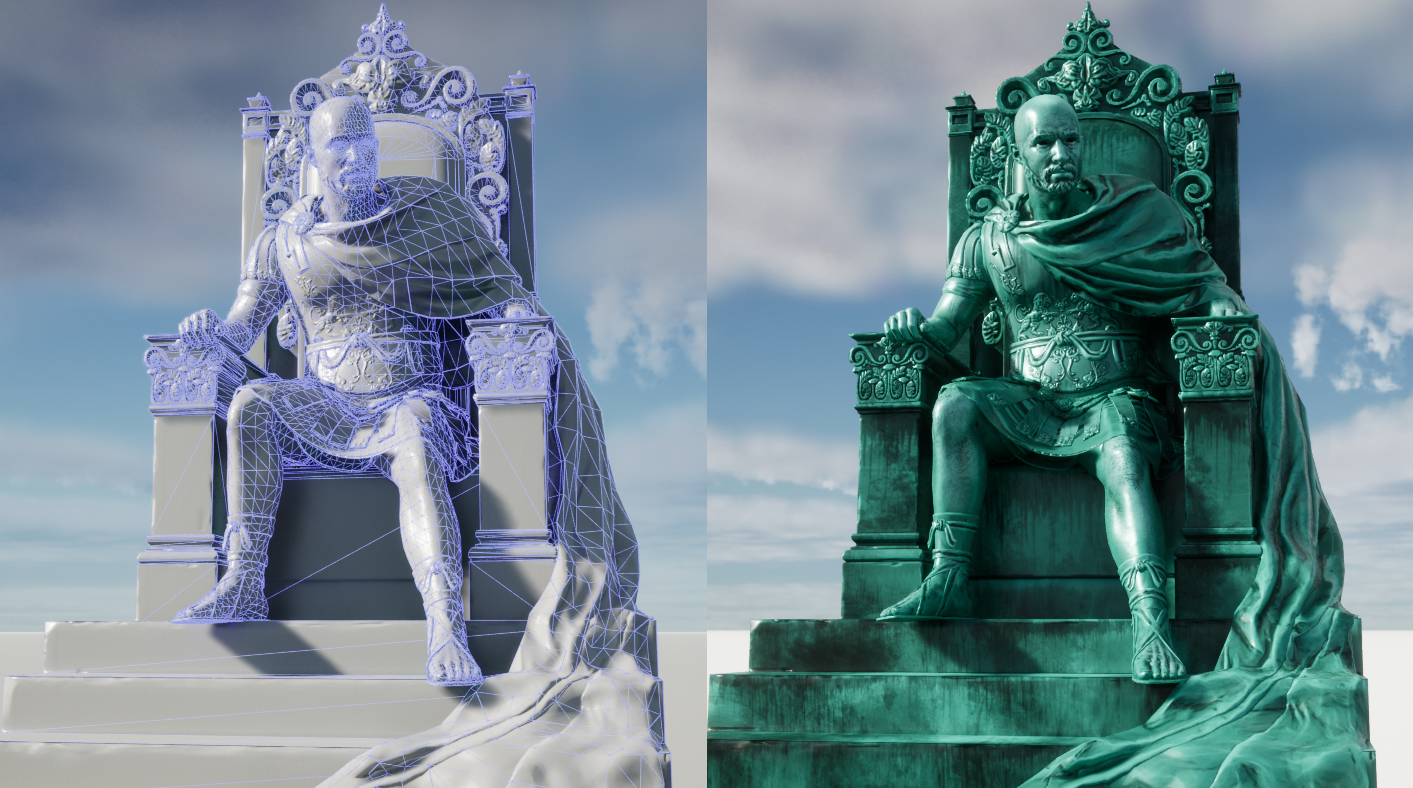
Import High Poly Zbrush Model Directly Into Unreal 5 Using Nanite
As you can see, after I import my high resolution model into Unreal Engine I get a super smooth fps. I'm sure you've seen the demos as well but if I were to duplicate this model 100 times, I'd still get a super fast fps! Looking at the render above I also show you a Nanite debug render which shows how the triangles are being dynamically formed based on how far away and how close I get to the asset. This tech is amazing and I'm sure it will change how real-time environments will be built in the future, the sky is the limit!