Muscle/Skin Simulation
The Lizard in "The Amazing Spiderman"

One of the most challenging and interesting body rigs I had the opportunity work with was the Lizard creature in "The Amazing Spiderman" at Sony Imageworks. This creature had to be rigged in order to handle the complex anatomy, muscle flex, skin sliding and wrinkle detail while animation posed him, and also allow the technical animation department to have the ability to plus his muscle and skin performance per shot. Knowing we had these tough challenges to solve, we first started by looking at reference to understand what we were trying to create.
Research Phase
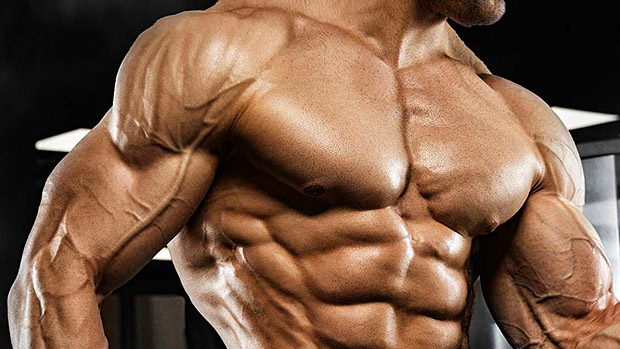
Here are just a few examples of the types of references we studied in order to make sure we were capturing accurate human anatomy. It was our job to make sure we were representing true muscle anatomy in the rig's performance.
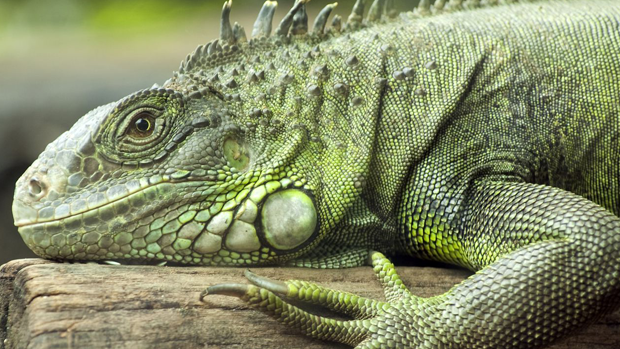
We also knew we needed to achieve the lizard-like skin that you typically see on reptiles. Lizard skin is really loose and can bunch up forming very interesting wrinkles as it doesn't conform tightly to the muscle surface. It also appears very stiff and leathery.
Muscle Rig
The Muscle Rig consisted of 2 parts. The first part was designed to allow animation the ability to control the muscle flexing in their performance, like for example giving them the controls to push the tendons in his neck like you see in the renders below. Animator's also had control over the flexing and tension of the muscles in the arm. If the Lizard had to lift something heavy, you would be able to feel the anticipation of the muscle tightening. This really allowed you to see the anatomy working underneath the skin which made the character feel even more believable.
The second part of the Muscle Rig was used to introduce jiggle in the muscles. This process was able to be run in animation but would ultimately involve the technical animation department running simulations on the character. This allowed us to adjust the settings based on the needs of the shot. Credit goes to Dustin Wicke for the initial muscle setup we used in shots.
Skin Rig
After we sim the Muscle Rig, the final layer is to apply the Skin Rig which consists of an nCloth sim. The skin collides with the muscle geo below, which allows us to get some very nice skin sliding over the muscle surface. If we loosened how much skin would hug the muscle, this would produce even more wrinkle detail you would typically see on a lizard's body. As you can see in the renders below, the combination of muscle and skin simulation really brought the character to life.
The Lizard was an amazing character to work on. The amount of rigging, animation, simulation and technical animation involved in bringing this character to the screen was incredible, and was a true team effort. I enjoyed every minute of that experience!
Facial Assets
Meta Human Faces at "Image-Metrics"
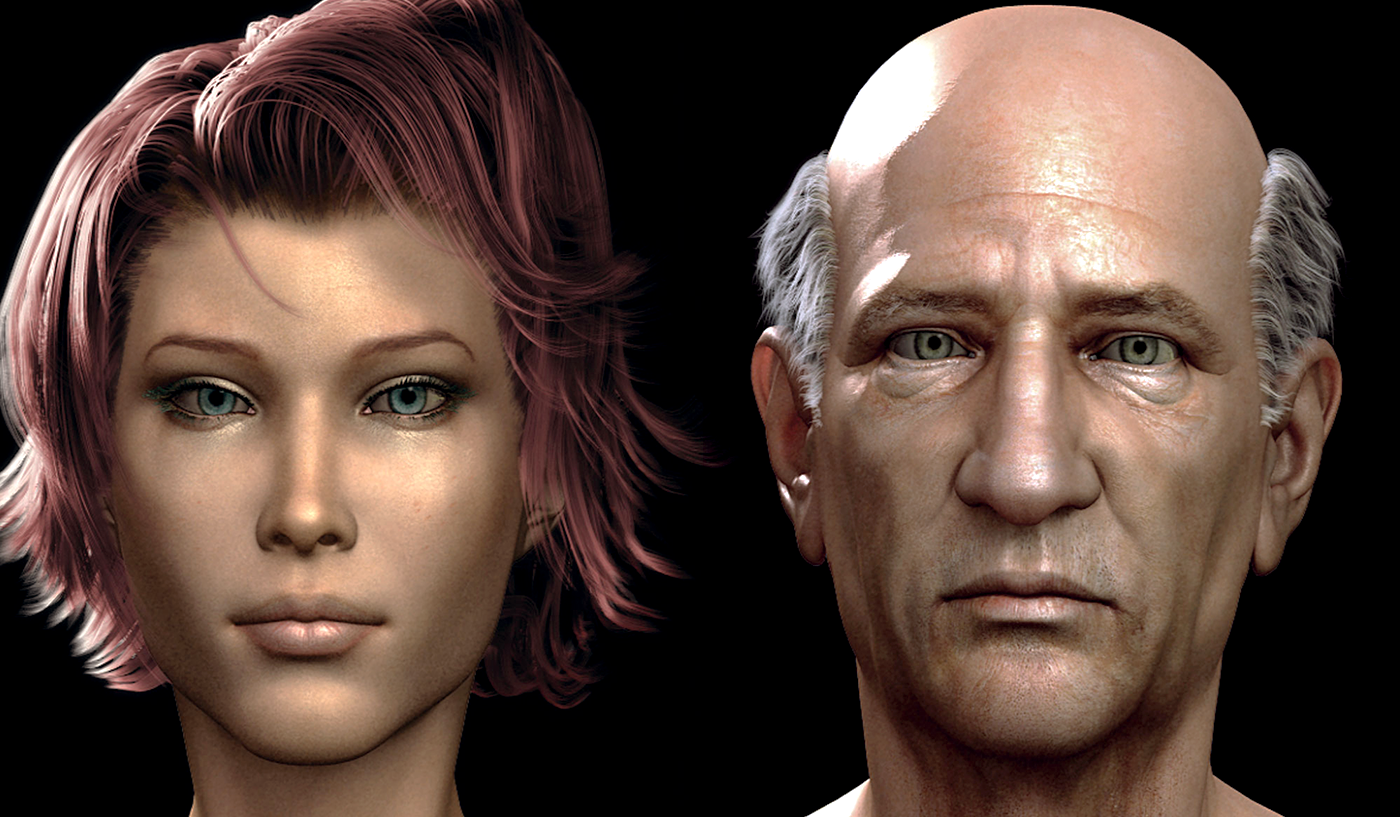
Very early on in my career, I did a brief stint working for a studio called Image-Metrics, which was a small motion capture company in Santa Monica. At that time facial rigging and motion capture technology was still in it's early infancy. I was brought on to help create digital avatars to be used by their facial capture system. Since my time with them, the company has continued to be innovative in creating life-like facial animation using a very sophisticated facial rigging and tracking system. My experience working with this company really expanded on my rigging knowledge and pushed me into experimenting with a variety of facial rigging techniques including the process of using FACS Muscle based solutions. Below I shared a video of how my digital avatars were used to capture an actress's facial capture just by inputting video footage. No trackers had to be placed on the actress's face for it to capture her performance.
The ability to capture facial from a single camera was very new technology that Image-metrics helped pioneer. Thanks to their early innovations, this technology has now expanded into the mainstream and is being used in several applications, video games and film productions. Lately the company has expanded into AR technology which is pretty cool to see. Check out their sizzle reel from 2019.
Prop Rigging
Spiderman's Web in "The Amazing Spiderman 2"
On "The Amazing Spiderman 2", I was brought on early to develop a new pipeline for the technical animation department to work with Spiderman's webs. In the previous movie the effects department would typically be the ones to work with anything web related, but given the added complexity of having Electro in the movie, we were asked to help take on the web work. Below I'll explain how I setup the web rig to help the animation and technical animation departments work together in producing the web effect on the show.
Initially I setup a tool for animation to select a source and target locator, then when they hit a button it would import a web rig into their scene, and would create a constraint to those locators. This was helpful especially for web swinging shots where you would want the source of the web to stay connected to Spiderman's hand, and for the target to stay attached to the surface that it landed on.

After they created the rig, animation would be able to adjust the web shape using the built-in controls. The compression of the web really allowed for us to sale the tension and weight of the web as it stuck to a surface.
Animation would also be able to control the timing of the web being shot from Spiderman's hand using a 0-100 attribute via a slider. As you can see, there is a wire curve driving the path the web will take to get to it's target destination.

This wire curve driving the path of the web can now be manipulated with custom deformers to adjust the shape and motion of the web. What you see in the images above is I also allowed animation to generate a set number of internal controls to manipulate the path via the rig tool I designed.
After animation publishes out the motion of the web rig, I designed a secondary process that would allow the technical animation department to import animation's data and continue with what they established in the rig animation. In the images you see above, the tech anim artist would be able to manipulate the shape of what we called the web's "eiffel tower". What we are looking for here is to determine the density of the web and what it should look like based on it's size.
Once we've determined how much spans are needed to generate the web, the next step would be to run a tool I made that would programmatically generate the web connections using a set number of min and max parameters within the web tool's UI. This allowed us to procedurally generate a web that was unique for every single model.
As you can see in just this Maya playblast, the web effect already looks pretty convincing, all with minimal work from both the animation and technical animation departments. Typically this is all we needed to do to get a web shot approved and published. If you needed a bit more fidelity, I also setup a sim rig system that would take these curves generated here and build an nHair system automatically using these curves as drivers. It would also constrain all the nearest web connections to the closest rod. This would let you sim a bit more secondary or do custom simulations if the shot required it. The last step in the process is we need to generate the web hi geo that drives off these output curves to send to render. This would be something the technical animation department would see in their scenes, and could quality control before they went to publish.
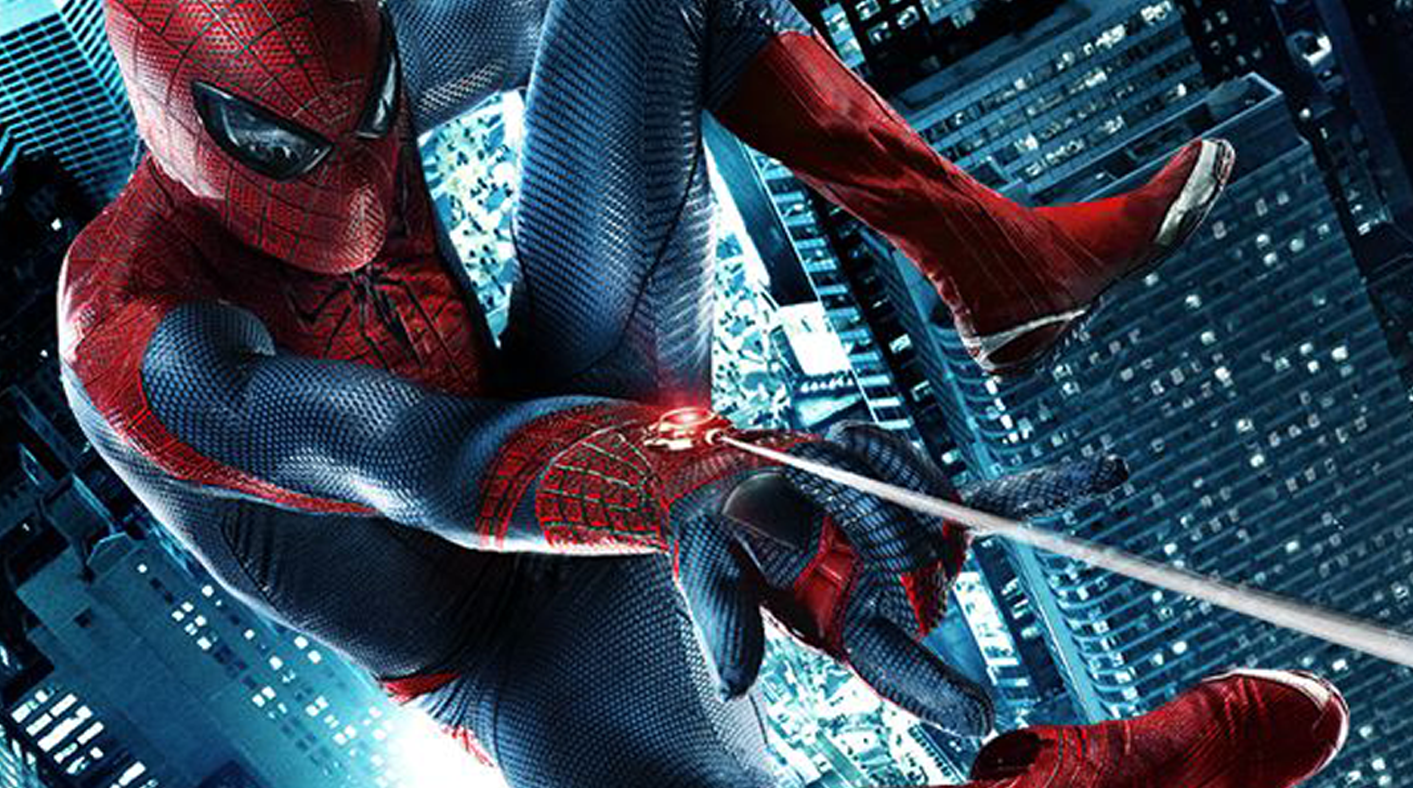
Overall the advancements we made to the web process saved the studio a lot of time compared to what it was on past shows. I feel very lucky to have been able to work on this web tool, it was super fun to design and to see the results work very efficiently. Just check out the web renders from the actual movie below. They were certainly featured a lot!